' d='M0 0h21v15H0z'/%3E%3Cpath fill='url(%23b)' d='M10 0h11v15H10z'/%3E%3Cpath fill='url(%23c)' d='M0 0h7v15H0z'/%3E%3Cpath fill='url(%23a)' d='M7 0h7v15H7z'/%3E%3C/g%3E%3C/svg%3E)
' d='M0 0h21v15H0z'/%3E%3Cpath d='M0 0h21v1H0V0zm0 2h21v1H0V2zm0 2h21v1H0V4zm0 2h21v1H0V6zm0 2h21v1H0V8zm0 2h21v1H0v-1zm0 2h21v1H0v-1zm0 2h21v1H0v-1z' fill='url(%23b)'/%3E%3Cpath fill='url(%23c)' d='M0 0h9v7H0z'/%3E%3Cpath d='M1.5 2a.5.5 0 110-1 .5.5 0 010 1zm2 0a.5.5 0 110-1 .5.5 0 010 1zm2 0a.5.5 0 110-1 .5.5 0 010 1zm2 0a.5.5 0 110-1 .5.5 0 010 1zm-5 1a.5.5 0 110-1 .5.5 0 010 1zm2 0a.5.5 0 110-1 .5.5 0 010 1zm2 0a.5.5 0 110-1 .5.5 0 010 1zm1 1a.5.5 0 110-1 .5.5 0 010 1zm-2 0a.5.5 0 110-1 .5.5 0 010 1zm-2 0a.5.5 0 110-1 .5.5 0 010 1zm-2 0a.5.5 0 110-1 .5.5 0 010 1zm1 1a.5.5 0 110-1 .5.5 0 010 1zm2 0a.5.5 0 110-1 .5.5 0 010 1zm2 0a.5.5 0 110-1 .5.5 0 010 1zm1 1a.5.5 0 110-1 .5.5 0 010 1zm-2 0a.5.5 0 110-1 .5.5 0 010 1zm-2 0a.5.5 0 110-1 .5.5 0 010 1zm-2 0a.5.5 0 110-1 .5.5 0 010 1z' fill='url(%23a)'/%3E%3C/g%3E%3C/svg%3E)
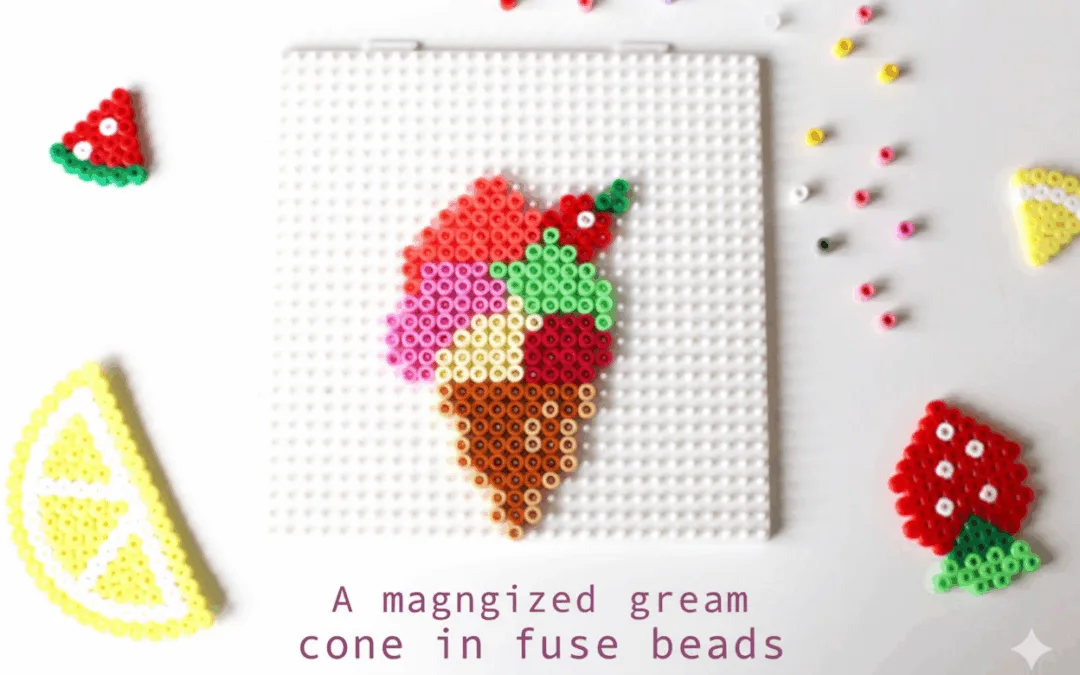
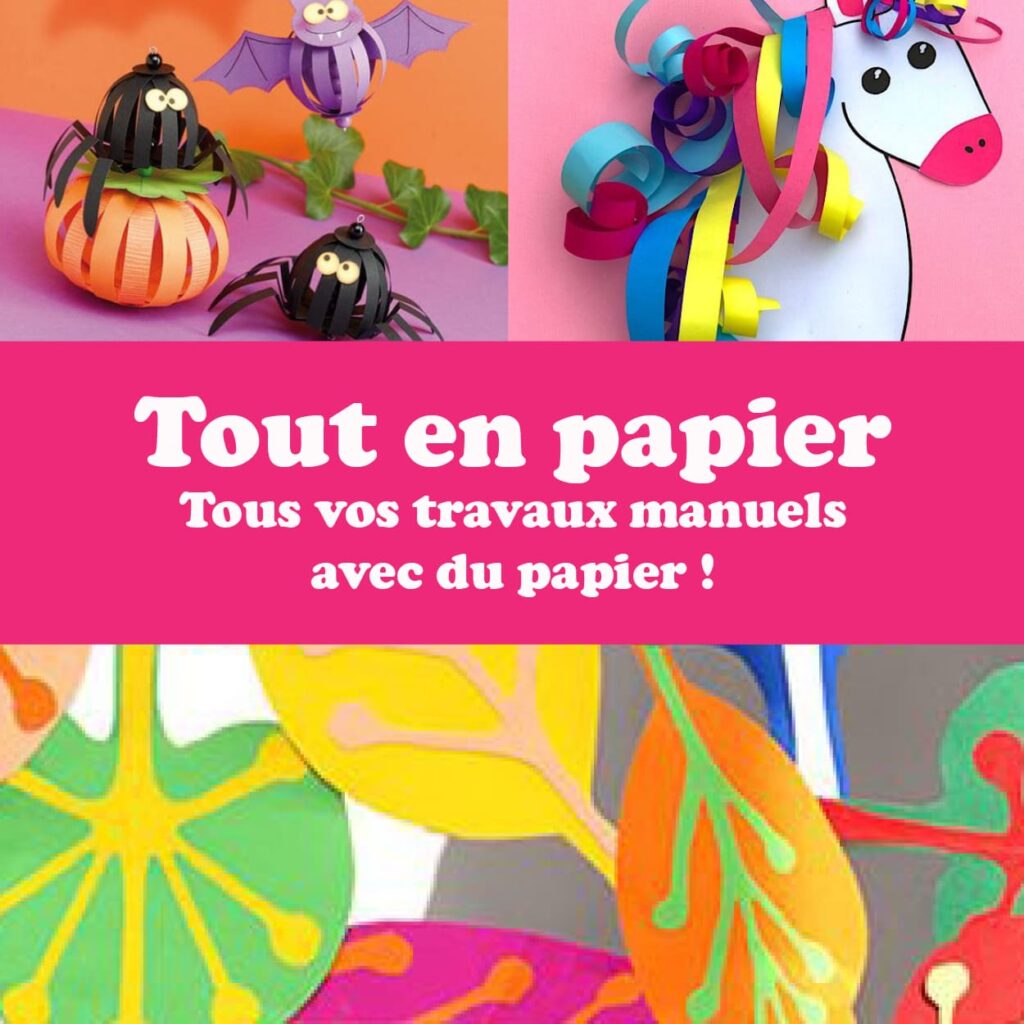
Just because it’s the middle of winter doesn’t mean you can’t treat yourself to a little slice of sunshine and leisure. If the idea of creating an ice cream cone already boosts your vitamin D, then this little tutorial is for you.
Materials
To make this three-scoop ice cream cone topped with a little cherry for extra indulgence, you’ll need:
* fuse beads (We made this cone in midi size, but if you want a more discreet magnet we recommend using beads in the mini format)
– some craft glue (suitable for plastic materials)
* an iron
* parchment paper
* two magnets

Instructions (about 30 minutes)
On a square pegboard, follow the pattern below.
Then iron your ice cream cone on both the front and back (apply more pressure on the back, which will be less visible, so your beads don’t look like they’ve “over” melted).
Glue your two magnets using the special plastic glue.
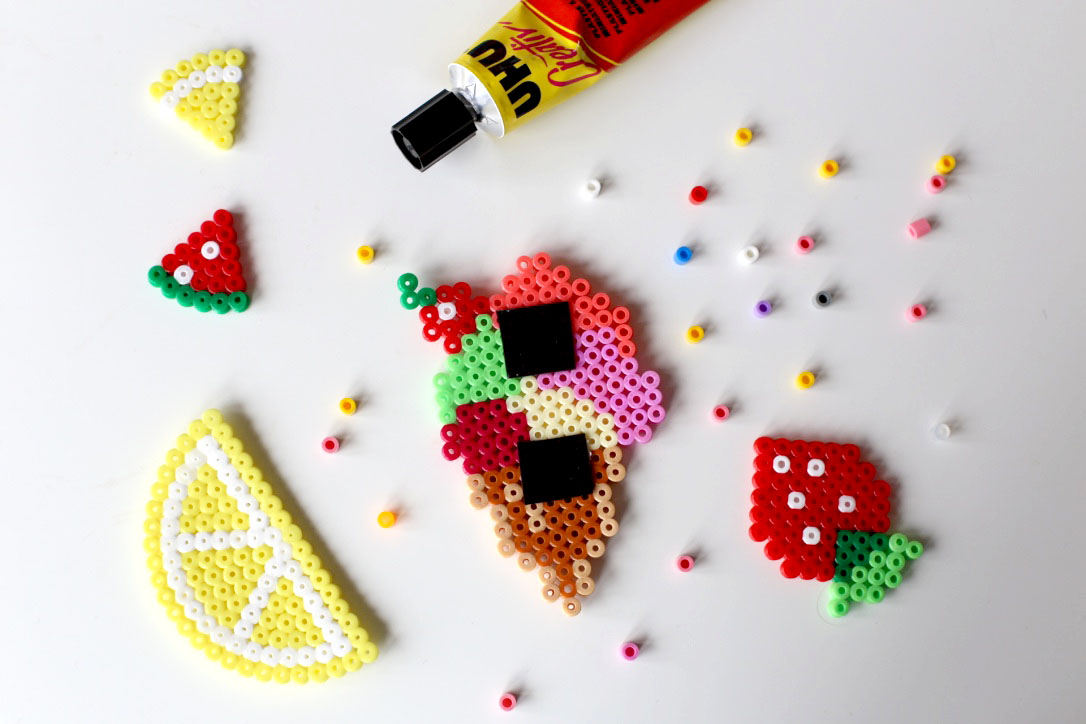
Let it dry for a few minutes so the glue adheres perfectly to the surface of your cone.
Your ice cream cone is all set to be placed on your refrigerator or freezer! Who knows? It might make summer arrive a little faster 😉