Hi, it’s Léa! Summer is winding down, the garden is still buzzing, and the butterflies are putting on their last big colour show — so of course I had to invite them onto our pegboards! Here’s the good news: a butterfly is the perfect design for beginners. It’s symmetrical (finish one wing and the other practically makes itself), it forgives a bit of colour improvising, and it always looks striking once it’s stuck to a sunny window. Here’s my pick of 10+ butterfly designs to make with the kids, from super simple to a fun little challenge — plus a homemade grid to follow bead by bead at the end.
Bright, bold butterflies that pop
Let’s start with the sure things: big, well-filled wings, punchy colours and a clear outline. These are my go-to designs for a result that wows without any fuss.

Each quarter of the wing runs its own colour scheme here. Let the kids pick the shades; the one rule is to keep the left and right sides symmetrical.


The trick with this last one: a black outline all around the wing. It gives the design structure and that lovely stained-glass look I’m so fond of.

Going natural: the monarch and realistic wings
After something that looks a little more “real”? The orange-and-black monarch is a timeless classic, and it’s a lovely excuse to chat about garden insects with the kids.


For that realistic look it’s all about the gradient: move from bright orange to a deeper tone toward the edge of the wing.

Soft pastels for little hands
With the youngest crafters I usually go for small designs and pastel tones: fewer beads to place, a quick win, and gorgeously gentle colours.


This one comes together in a few minutes — ideal for keeping little ones engaged right up to the ironing (which, of course, always stays a grown-up job!).


Tip: these little butterflies are brilliant strung into a garland or glued onto a hair clip. And if the garden has you inspired, take a peek at my fuse bead flowers — butterflies and flowers are the décor combo of the season!
Level up: rainbow and 3D butterflies
For confident crafters (or parents who fancy joining in), here are two slightly more ambitious ideas.

The rainbow is a great rows-of-colour exercise: red, orange, yellow, green, blue, purple… follow the order and the result is stunning.

The 3D version? Make two identical butterflies and join them back to back, or gently bend the wings as they come off the iron while still warm. Guaranteed wow factor!

My little homemade grid to follow
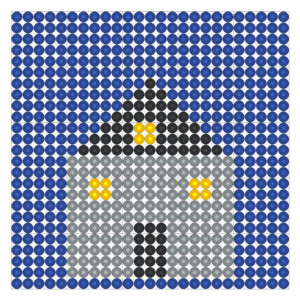
No inspiration to hand? Here’s a homemade grid I put together for you: one square = one bead, so all that’s left is to copy it onto your square pegboard.

Pink wings on top, blue on the bottom, a dark body down the middle and two antennae: swap the colours however you like — the shape stays unbeatable.
Over to you!
That’s plenty to turn a rainy afternoon into a proper colourful aviary. Start with a small pastel design to build confidence, then tackle the monarch or the rainbow. And if your kids catch the winged-critter bug, they’ll love my bird fuse beads too. Show me your butterflies — I can’t wait to see your creations take flight!