I’ve had the garden on my mind lately: the first apples turning red, flowers hanging on before autumn properly sets in, and all the little critters that live in between. So I wanted to pull together eight patterns around that theme in one go, mixing today’s new designs with a few collection favourites, for a colourful fuse bead afternoon with the kids.
Flowers and little garden fruit
We start gently with a tall tulip and a round little apple, two brand-new patterns I’ve just added to the collection, paired with a daisy you’ll already know well. Three simple designs, perfect for a first square pegboard project.
Flowers and fruit to build
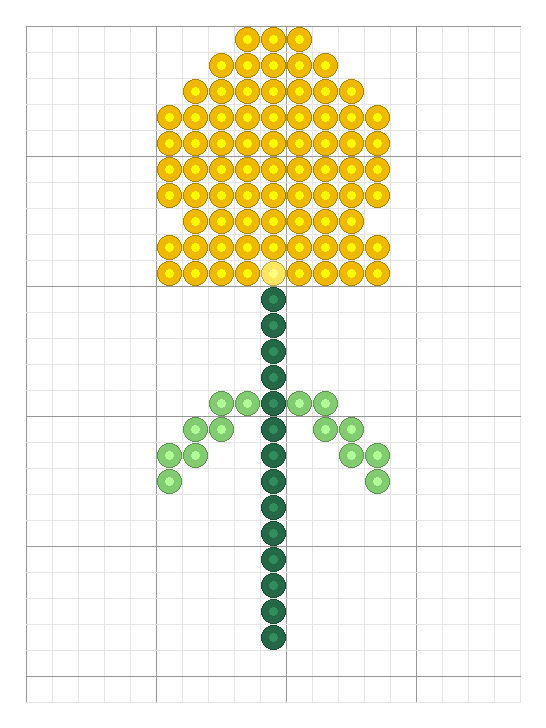
Yellow tulip
A tall, slender tulip for a square pegboard — a little piece of spring you can keep all year.

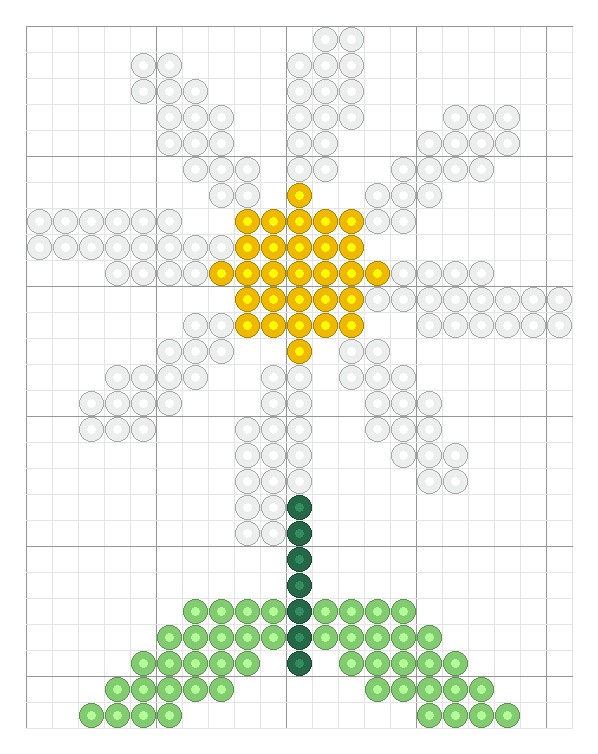
Daisy Flower
A simple daisy with a golden heart and soft white petals for a square pegboard.

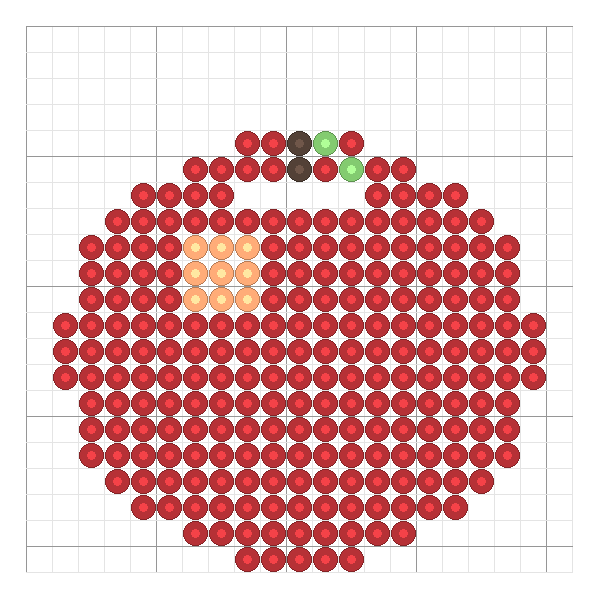
Red apple
A plump little apple to build on a square pegboard — a sweet, beginner-friendly project.
The garden’s little residents
No garden without its residents! Today I added a little frog sitting proudly on its legs, and paired it with three critters you love: a colourful butterfly, a ladybird, and an adorable hedgehog.
Little garden critters
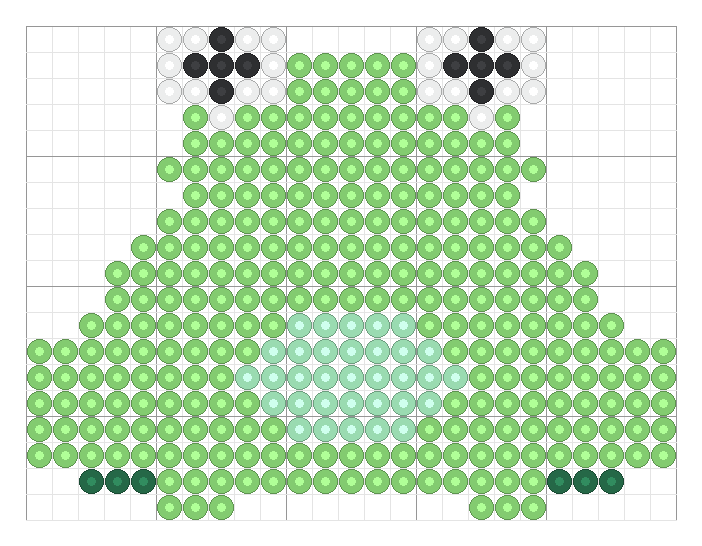
Little frog
A round little frog, sitting tall with big round eyes, ready to hop onto your square pegboard.

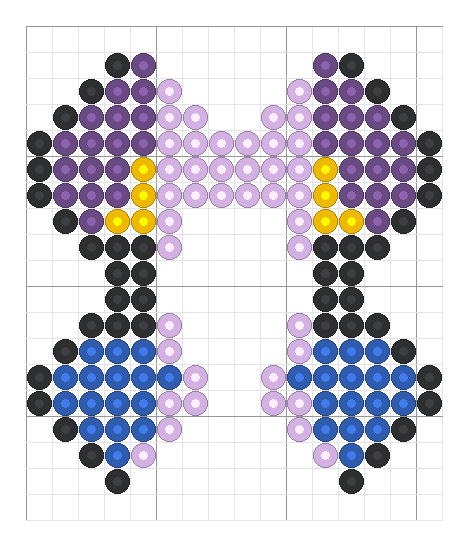
Butterfly
A cheerful purple and blue butterfly, perfect for a square pegboard.

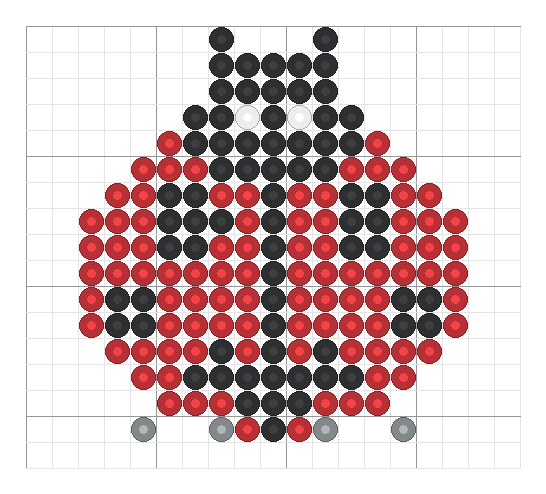
Ladybug
A round little ladybug to iron onto a square pegboard — perfect as a fridge magnet or cute decoration.

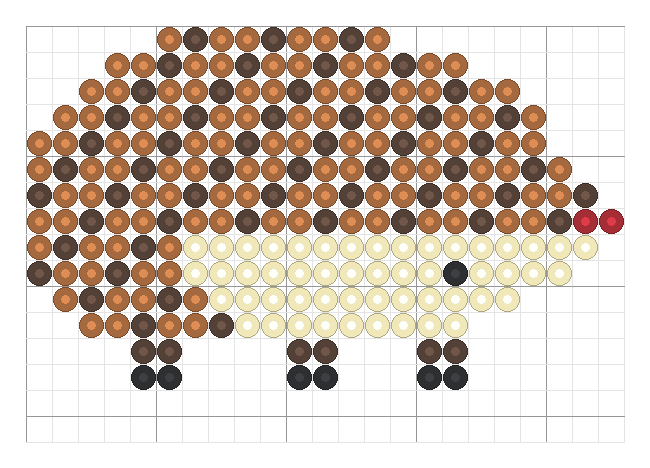
Little Hedgehog
A round little hedgehog with shaded spikes, made on a square pegboard.
A bit of decor that never needs watering
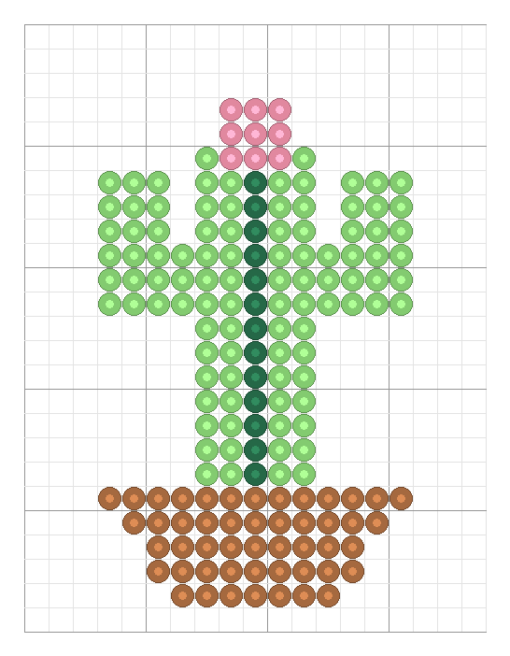
And to finish, a little green indulgence that asks for zero upkeep: a potted cactus, with its two neatly symmetrical arms and a pink flower right on top. Set it on a shelf or tuck it into a real little pot for a fun trompe-l’oeil touch, and it earns its place all year round, even in the dead of winter.
Green decor
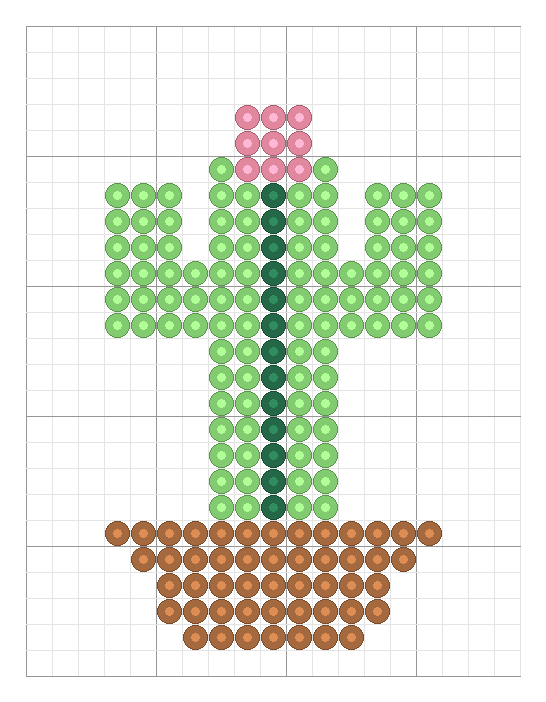
Potted cactus
A little beaded cactus with two symmetrical arms and a pink flower on top — zero watering required.
My tips for a smooth beading session
Before I start, I always sort my beads by colour into little boxes: it saves constant digging through the bag, and it keeps the kids happily busy for a few minutes before the first bead even goes down. I’d suggest following the pattern row by row rather than colour by colour, especially for younger beaders — it’s easier to stay on track, and you get to watch the design appear bit by bit. For ironing, a sheet of ironing paper on both sides and a medium-heat iron is all you need — never press too hard if you want to keep that nice raised texture. And let it cool under a heavy book for a few minutes before you peel it off the pegboard: that’s what keeps the design from warping.
How I choose the patterns for a round-up like this
For every pattern, I always start from the grid: I count the beads and colours needed square by square, check the difficulty level, and pick the right pegboard before the pattern goes live. You’ll find all of that directly on each pattern page, along with the printable grid and the bead list to gather beforehand. Nothing here is a rough guess — everything is counted on the finished design, so you can start without running short on beads halfway through.
I hope this garden round-up makes you want to pull out your square pegboards this weekend. And if there’s a corner of your garden, or a little critter, you’d love to see in fuse beads, let me know in the comments — I always keep track of your ideas for future patterns!